What To Do If Water Is Leaking Through Your Ceiling
Discovering water leaking from your ceiling is a homeowner’s nightmare. Whether it’s caused by the UK’s famously unpredictable weather, internal plumbing issues, or a leak from a flat above, it’s essential to act quickly to minimise damage and protect your property.

Why you can trust our content
At a glance
The experts at Anke Damp Proofing have outlined the key steps to follow if you notice water seeping through your ceiling:
1. Identify the Source of the Ceiling Leak
Begin by placing a bucket or suitable container underneath the leak to catch any dripping water. Then assess where the leak may be coming from — this will help determine your next steps.
Leaks Caused by Roof Issues
If the leak appears only during rainfall, the likely cause is damage to your roof. Try to clear any loft insulation near the affected area, and place a bucket or container in the loft to collect water from above.
Carefully check for any damp patches or signs of moisture in the loft space and mark the general area. Even if you can’t find the exact entry point, having a rough idea is helpful when a professional comes to assess and repair the damage.
Plumbing or Internal Leaks
If the water seems to be coming directly through the ceiling regardless of weather, it may be caused by a plumbing issue. In this case, and only if safe to do so, pierce a small hole in the ceiling with a sharp object to release any trapped water and reduce the weight on the plasterboard. Place a large container underneath to catch the flow.
If you suspect the leak is from a flat or property above yours, contact the occupants straight away, and inform your building management so they can investigate or shut off the water supply if needed.
⚠️ Important: If the ceiling is sagging or appears unsafe, avoid standing beneath it and contact a professional immediately. Turn off your water supply as a precaution.
2. Call for Immediate Professional Assistance
It’s vital to contact a professional restoration or plumbing service as soon as possible to prevent further damage. Early intervention often means simpler repairs and reduced long-term costs.
Before calling, notify your insurance provider – they may either appoint a specialist directly or instruct you to source your own expert who can then produce a detailed report for your insurer.
3. Book Professional Leak Detection
A leak detection specialist can accurately trace the source of the water using advanced, non-invasive technology. At Anke Damp Proofing, we use several industry-leading methods:
- Thermal Imaging: Highlights temperature differences in building materials to locate hidden moisture behind walls and floors.
- Moisture Meters: Detects dampness without removing tiles, flooring, or wall finishes.
- Gas Tracer Testing: Uses a safe gas to pinpoint pipe leaks quickly and precisely.
- Borescope Cameras: These small cameras on flexible rods allow us to view inside cavities and tight spaces without causing damage.
This approach ensures leaks are found and addressed swiftly, with minimal disruption to your property.
4. Stop and Fix the Leak
If you’re not a qualified plumber, attempting a full repair may not be feasible. However, you can still take simple temporary steps.
Firstly, shut off the water mains to prevent further flow. If you can safely access the source and see a visible hole, you might temporarily cover it with waterproof sheeting or tarpaulin held down with tape.
For concealed leaks, it’s best to collect water as it drips and wait for the professionals to arrive.
5. Restore the Water-Damaged Area
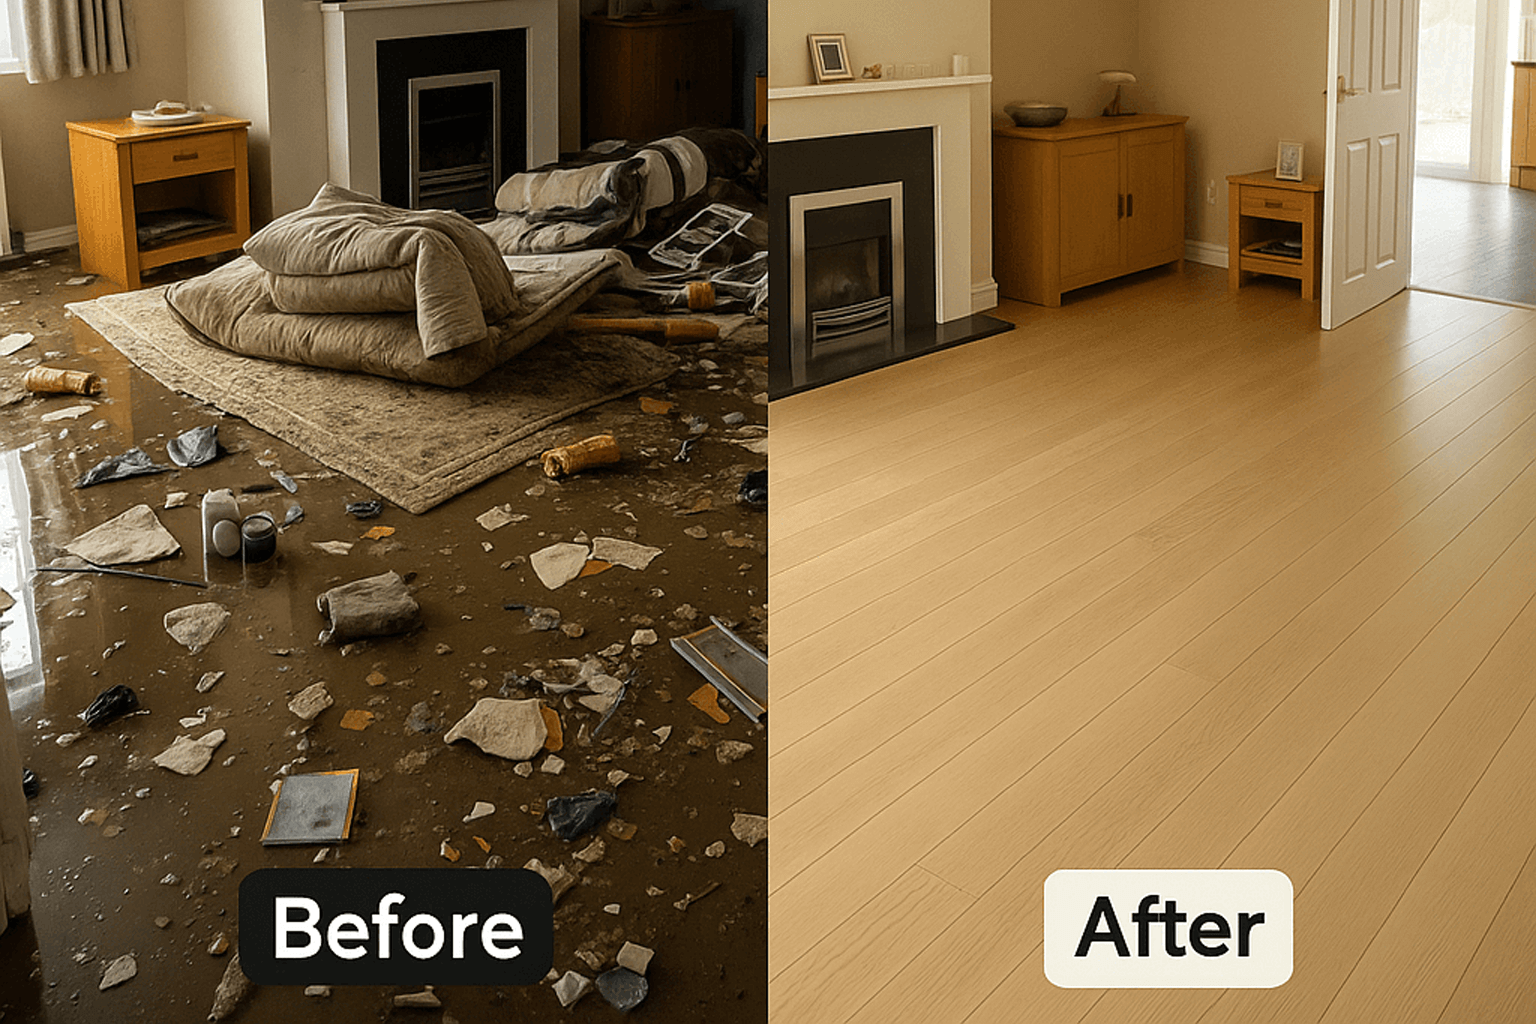
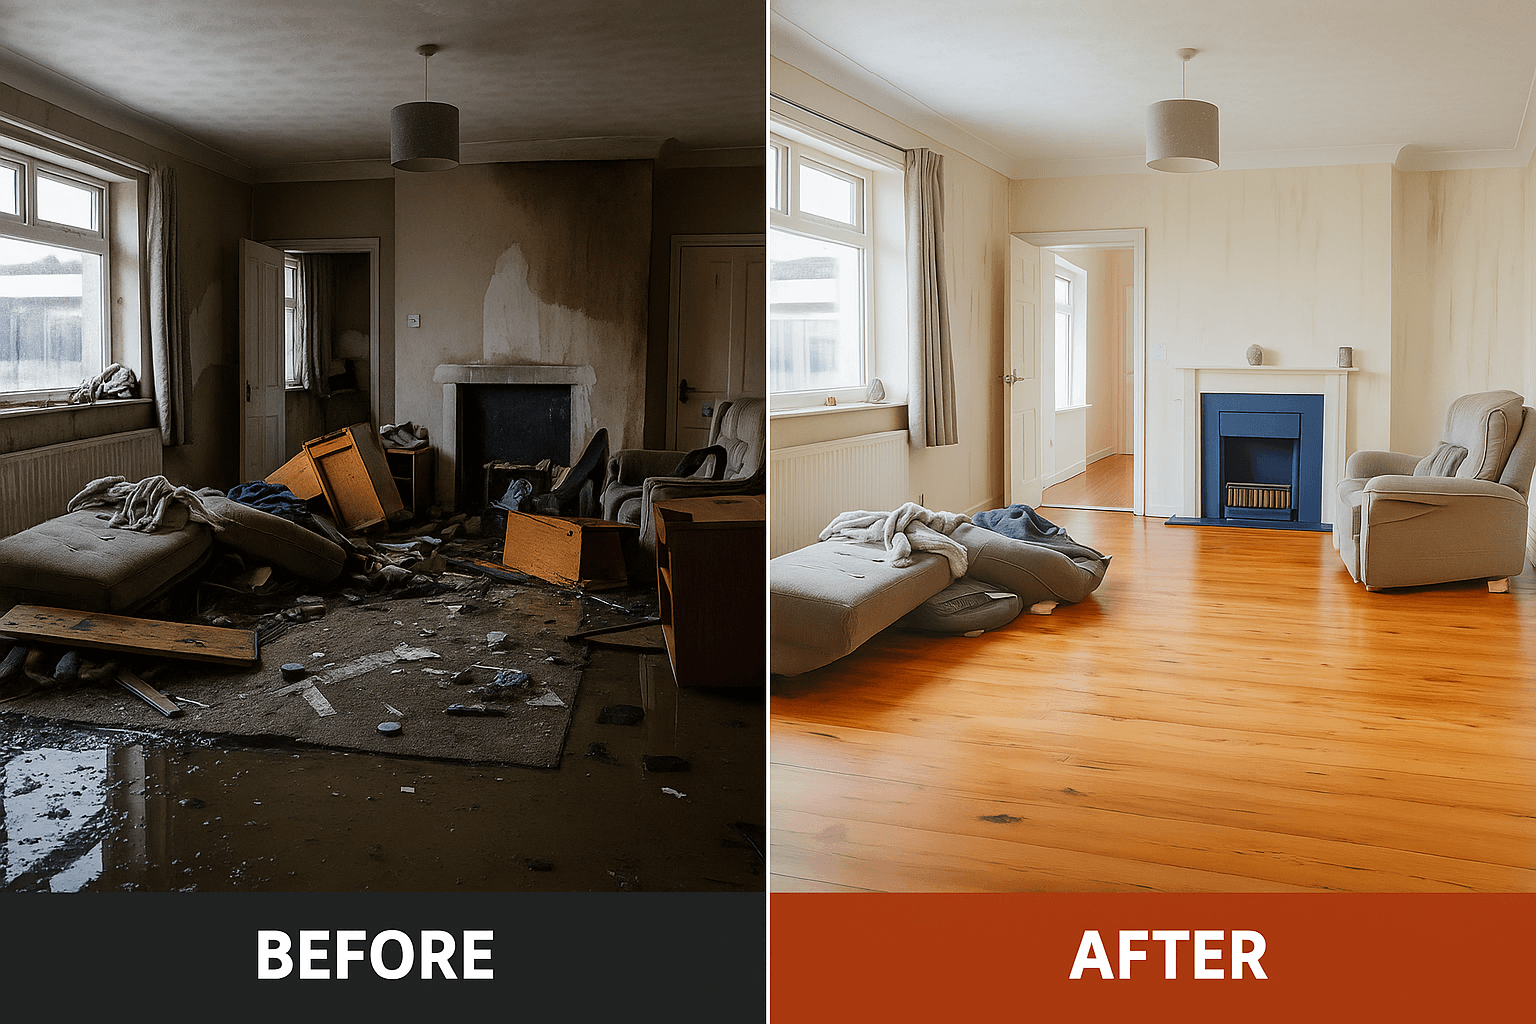
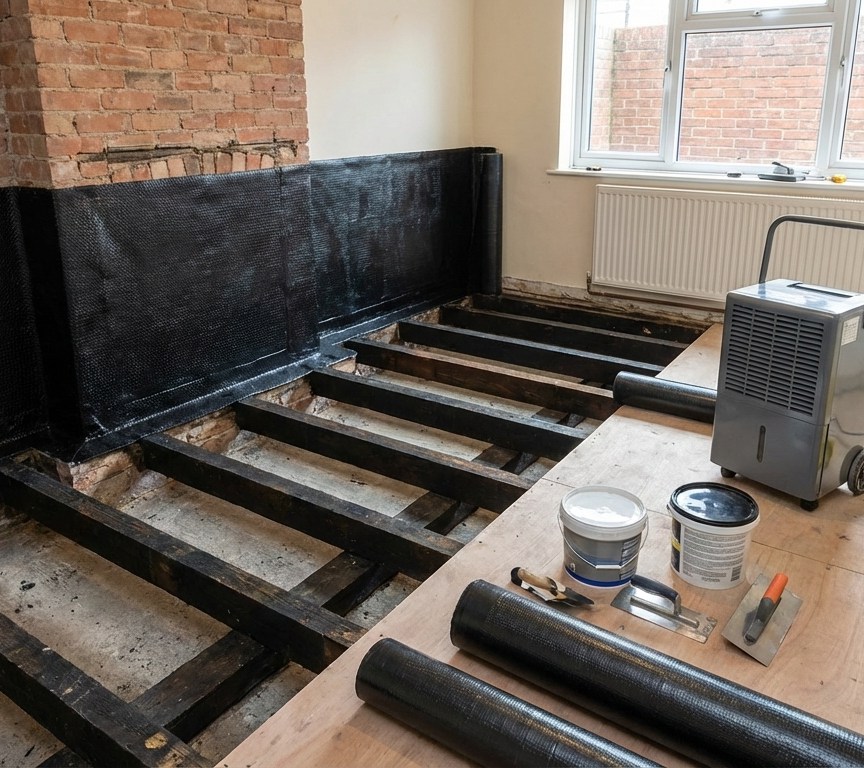
Once the leak has been dealt with, it’s important to dry and repair the affected areas thoroughly. From stained ceilings to water-damaged flooring or insulation, restoration may be required to return your home or business to its original condition.
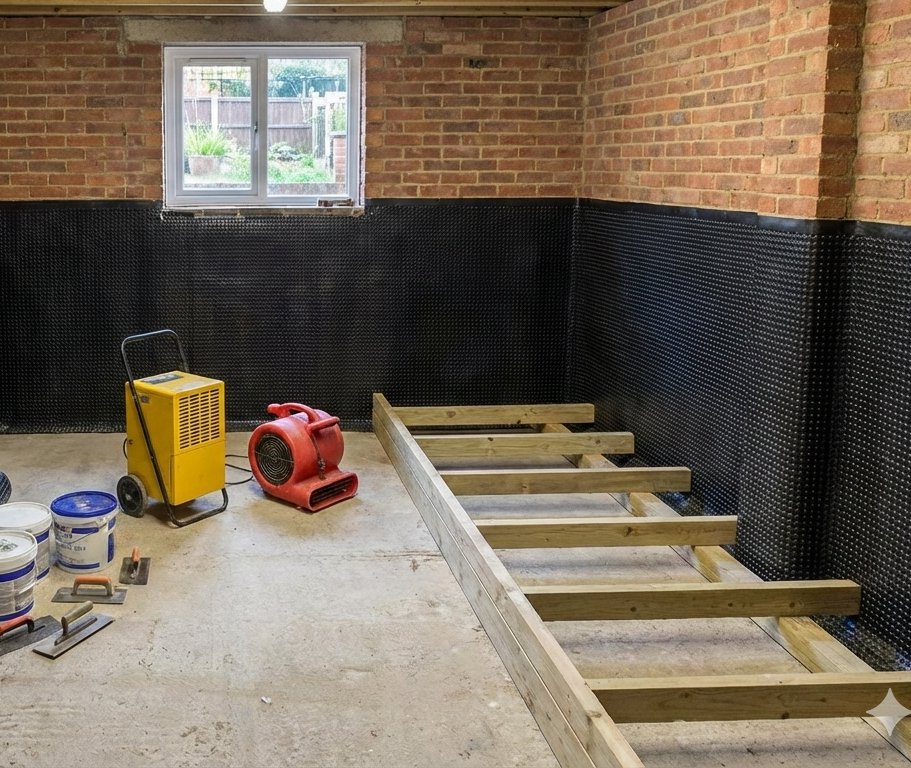
Specialist drying equipment is often needed to ensure all hidden moisture is removed. Only once the space is fully dry should repair work begin — this could include mould treatment, plastering, painting, or replacing insulation.
Rather than attempting complex repairs yourself, it’s worth hiring a professional restoration service to guarantee a safe, thorough outcome.
Final Thoughts
Leaks through ceilings can cause significant damage if not addressed quickly. Acting fast — by identifying the source, calling for help, and ensuring proper drying and repairs — can prevent long-term structural issues and health hazards.
If you’re unsure where to start, the team at Anke Damp Proofing is always ready to help with detection, repairs, and restoration solutions tailored to your situation.
Related articles
At a glance
The experts at Anke Damp Proofing have outlined the key steps to follow if you notice water seeping through your ceiling:
1. Identify the Source of the Ceiling Leak
Begin by placing a bucket or suitable container underneath the leak to catch any dripping water. Then assess where the leak may be coming from — this will help determine your next steps.
Leaks Caused by Roof Issues
If the leak appears only during rainfall, the likely cause is damage to your roof. Try to clear any loft insulation near the affected area, and place a bucket or container in the loft to collect water from above.
Carefully check for any damp patches or signs of moisture in the loft space and mark the general area. Even if you can’t find the exact entry point, having a rough idea is helpful when a professional comes to assess and repair the damage.
Plumbing or Internal Leaks
If the water seems to be coming directly through the ceiling regardless of weather, it may be caused by a plumbing issue. In this case, and only if safe to do so, pierce a small hole in the ceiling with a sharp object to release any trapped water and reduce the weight on the plasterboard. Place a large container underneath to catch the flow.
If you suspect the leak is from a flat or property above yours, contact the occupants straight away, and inform your building management so they can investigate or shut off the water supply if needed.
⚠️ Important: If the ceiling is sagging or appears unsafe, avoid standing beneath it and contact a professional immediately. Turn off your water supply as a precaution.
2. Call for Immediate Professional Assistance
It’s vital to contact a professional restoration or plumbing service as soon as possible to prevent further damage. Early intervention often means simpler repairs and reduced long-term costs.
Before calling, notify your insurance provider – they may either appoint a specialist directly or instruct you to source your own expert who can then produce a detailed report for your insurer.
3. Book Professional Leak Detection
A leak detection specialist can accurately trace the source of the water using advanced, non-invasive technology. At Anke Damp Proofing, we use several industry-leading methods:
- Thermal Imaging: Highlights temperature differences in building materials to locate hidden moisture behind walls and floors.
- Moisture Meters: Detects dampness without removing tiles, flooring, or wall finishes.
- Gas Tracer Testing: Uses a safe gas to pinpoint pipe leaks quickly and precisely.
- Borescope Cameras: These small cameras on flexible rods allow us to view inside cavities and tight spaces without causing damage.
This approach ensures leaks are found and addressed swiftly, with minimal disruption to your property.
4. Stop and Fix the Leak
If you’re not a qualified plumber, attempting a full repair may not be feasible. However, you can still take simple temporary steps.
Firstly, shut off the water mains to prevent further flow. If you can safely access the source and see a visible hole, you might temporarily cover it with waterproof sheeting or tarpaulin held down with tape.
For concealed leaks, it’s best to collect water as it drips and wait for the professionals to arrive.
5. Restore the Water-Damaged Area
Once the leak has been dealt with, it’s important to dry and repair the affected areas thoroughly. From stained ceilings to water-damaged flooring or insulation, restoration may be required to return your home or business to its original condition.
Specialist drying equipment is often needed to ensure all hidden moisture is removed. Only once the space is fully dry should repair work begin — this could include mould treatment, plastering, painting, or replacing insulation.
Rather than attempting complex repairs yourself, it’s worth hiring a professional restoration service to guarantee a safe, thorough outcome.
Final Thoughts
Leaks through ceilings can cause significant damage if not addressed quickly. Acting fast — by identifying the source, calling for help, and ensuring proper drying and repairs — can prevent long-term structural issues and health hazards.
If you’re unsure where to start, the team at Anke Damp Proofing is always ready to help with detection, repairs, and restoration solutions tailored to your situation.